
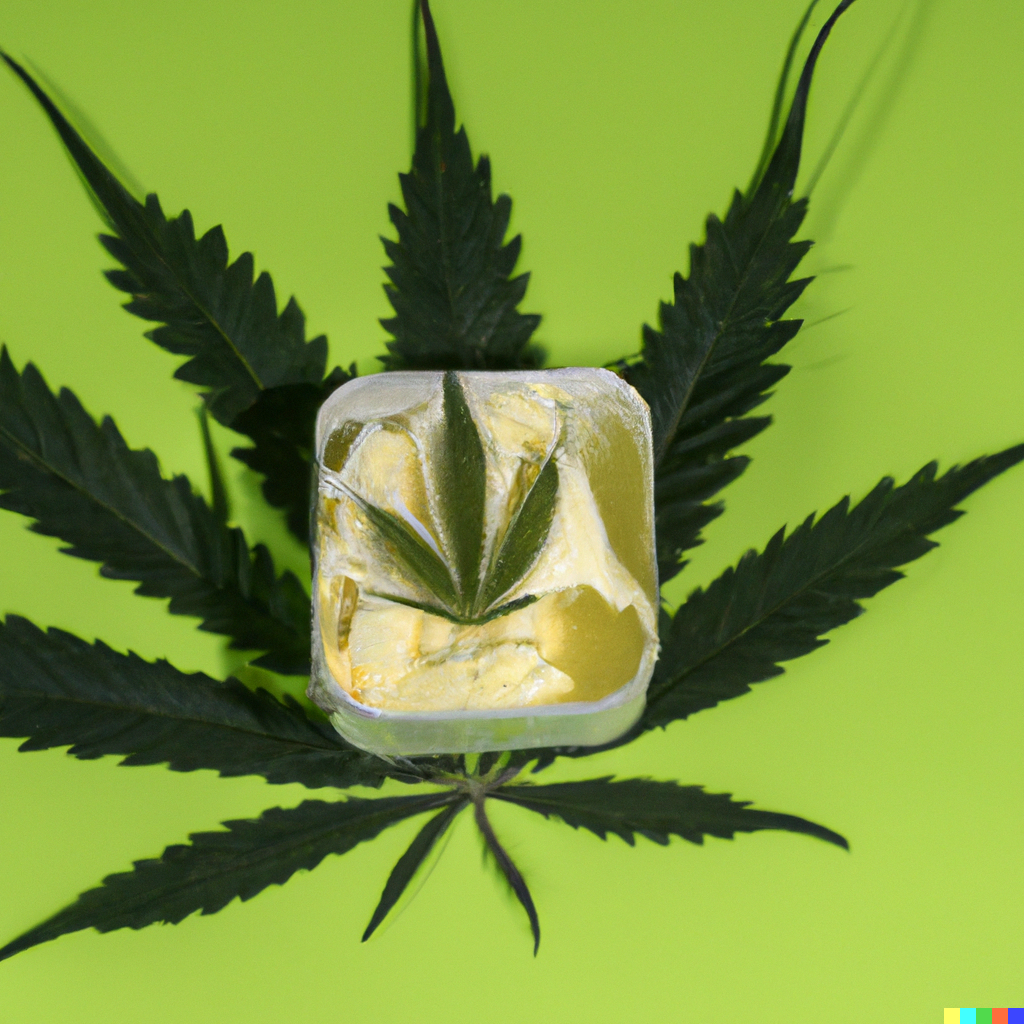
The power of Cannabutter lies in its ability to convert virtually any dish into a cannabis-infused delight. You don’t need to be a culinary genius or a cannabis savant to master this recipe. The key elements are patience, orderliness, a trustworthy recipe, and some grasp of dosage. This method also allows for the creation of cannabis-enhanced chili crisps or elevated coconut oil.
The recipe below results in roughly 30 mg of THC per tablespoon of butter or oil. A typical dose sits at around 10 mg. Initiate with a quarter teaspoon of your homemade cannabutter, waiting approximately an hour before judging its effect. If you’re new to edibles, bear in mind that they can take longer to kick in than smoking. Evaluate how you feel and adjust your dosage accordingly. It’s best to stay on the side of caution for a favorable experience.
Step 1: Decarboxylation: The first step in crafting Cannabutter involves decarboxylating your cannabis. This process, fondly known as “decarbing,” involves heating the cannabis flower to convert inactive cannabinoids (THCA and CBDA) into their active forms (THC and CBD). This activates the psychoactive properties and makes it easier for the butter or oil to absorb the cannabis.
Using whole cannabis flowers, not ground cannabis, is recommended, whether your preference leans towards indica or sativa. The decarbed flower is ground after baking. A hand grinder is perfect for this task.
What you’ll need:
- ½ oz cannabis flower
- Parchment paper
- Glass baking dish or sheet pan
- Hand grinder or scissors
What to do:
- Set your oven to preheat at 220°F.
- Gently separate the buds into large chunks and spread them out evenly on a baking sheet lined with parchment paper. Bake for 20 minutes for aged or lower-grade cannabis, 45 minutes for cured, high-quality cannabis, or over an hour for recently harvested and damp cannabis.
- Regularly check and stir your cannabis every 10 minutes during baking to prevent burning. Once it changes color from a vibrant green to a deep, earthy green-brown, it is fully decarboxylated.
- Allow your decarbed weed to cool before grinding it to the ideal consistency for rolling a joint – fine but not overly so. Too fine a grind can seep through cheesecloth, clouding your butter. Your aim is for a clear, clean Cannabutter.
Step 2: Cannabutter stovetop infusion: This step requires a more extended commitment of about 4 hours, allowing the cannabis to fully infuse into your chosen fat. Infusing cannabis into butter or ghee is popular, but any fat, such as olive, sesame, or coconut oil, can be used with the same method. If opting for butter, unsalted butter is recommended to better control the salt content of the end product.
The longer the cannabis and melted butter simmer together, the stronger your Cannabutter will become. This recipe calls for a four-hour infusion, providing an optimal balance of potency and an herbal, yet not overpowering, flavor.
Adding water to your pot stops the Cannabutter from scorching, removing the necessity for a double boiler. As long as the heat remains very low and the pot is observed, the chances of burning are minimal. However, your kitchen might be filled with a distinct aroma. To avoid scorching or for a more subtle, set-it-and-forget-it approach, a slow cooker on the lowest setting is also an option.
Here’s a simple stovetop method to create Cannabutter:
What you’ll need:
- 1½ cups water
- 8 oz. clarified butter, unsalted butter, or oil
- ½ oz. decarboxylated cannabis
- Medium saucepan
- Wooden spoon
- Thermometer
- Cheesecloth and/or mesh strainer
What to do:
- In a medium saucepan on a very low heat setting, combine water and butter or oil.
- If using butter, allow it to melt before adding the ground, decarboxylated cannabis. Mix well with a wooden spoon and cover with a lid.
- Gently simmer for 4 hours, stirring occasionally to ensure the butter isn’t burning. If you have a kitchen thermometer, keep the temperature under 180°F.
- After 4 hours, strain the mixture into a container using cheesecloth or a mesh strainer. Allow the butter to cool to room temperature before using or storing it. It can be stored in an airtight container in the fridge or freezer for up to six months.
How to use cannabutter: Your homemade cannabutter can be used in a variety of sweet or savory dishes. A classic technique involves replacing 1 teaspoon of regular butter per serving with cannabis butter in recipes like cheesecake brownies, breakfast blondies, or your favorite chocolate chip cookies. The mathematics behind it is simple: if your recipe yields 12 brownies, substitute 12 teaspoons (or 4 tablespoons, or ¼ cup) of Cannabutter to ensure a 10 mg dose per serving.
But why limit yourself to baking? Dive into the savory world by combining 1 tablespoon of cannabis-infused olive oil with 3 tablespoons of non-infused extra virgin olive oil. Use this mix to dress a Charred Raw Corn salad, resulting in a 7.5 mg dose per serving. You can also replace 2 tablespoons of vegetable oil with cannabis-infused sesame oil in your favorite garlic chili oil recipe for a feel-good chicken and rice soup.
If you’re not up for a long stovetop infusion, you can decarb your cannabis and make a traditional cannabis drink known as Bhang. Regardless of your chosen path, cannabis edibles offer a discreet, smoke-free alternative for experiencing the flower’s effects. Remember, dosing responsibly is key.

Cannabutter
Equipment
- Parchment paper
- Glass baking dish or sheet pan
- Hand grinder or scissors
- Medium saucepan
- Wooden spoon
- Thermometer
- Cheesecloth and/or mesh strainger
Ingredients
Decarboxylation
- ½ oz cannabis flower
Cannabutter Stovetop Infusion
- 1 ½ c water
- 8 oz clarified butter, unsalted butter, or oil
- ½ oz decarboxylated cannabis
Instructions
Decarboxylation
- Set your oven to preheat at 220°F.
- Gently separate the buds into large chunks and spread them out evenly on a baking sheet lined with parchment paper. Bake for 20 minutes for aged or lower-grade cannabis, 45 minutes for cured, high-quality cannabis, or over an hour for recently harvested and damp cannabis.
- Regularly check and stir your cannabis every 10 minutes during baking to prevent burning. Once it changes color from a vibrant green to a deep, earthy green-brown, it is fully decarboxylated.
- Allow your decarbed weed to cool before grinding it to the ideal consistency for rolling a joint – fine but not overly so. Too fine a grind can seep through cheesecloth, clouding your butter. Your aim is for a clear, clean Cannabutter.
Cannabutter Stovetop Infusion
- In a medium saucepan on a very low heat setting, combine water and butter or oil.
- If using butter, allow it to melt before adding the ground, decarboxylated cannabis. Mix well with a wooden spoon and cover with a lid.
- Gently simmer for 4 hours, stirring occasionally to ensure the butter isn't burning. If you have a kitchen thermometer, keep the temperature under 180°F.
- After 4 hours, strain the mixture into a container using cheesecloth or a mesh strainer. Allow the butter to cool to room temperature before using or storing it. It can be stored in an airtight container in the fridge or freezer for up to six months.